Prerequisites:
In a previous post I showed you how to get started with CoreML, which allows you to use pre-trained machine learning models in your projects. One of the limitations discussed was that as soon as you want to begin classifying something in your app that one of the pre-trained models isn’t trained for, the learning curve for training your own model becomes fairly steep.
CreateML to the Rescue
At WWDC18, Apple introduced a new API that will allow us to use Transfer Learning to re-train an existing model using minimal code and an interactive UI in Playgrounds.
What is Transfer Learning?
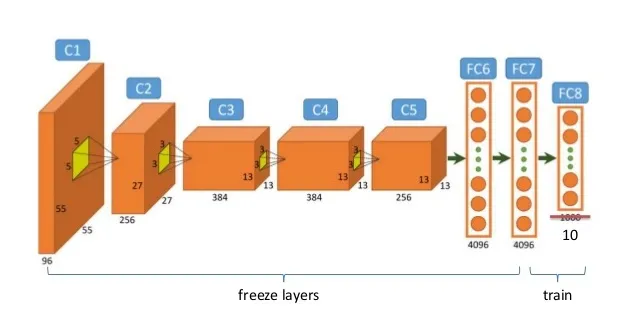
Writing your own machine learning algorithm can be a daunting task. Luckily, the practice of transfer learning allows us to repurpose an already pre-trained model for a different task. Below you’ll see an example of the many layers of a machine learning algorithm. The first few layers perform tasks such as breaking down images into feature vectors while the last few layers actually classify our images. Instead of rewriting all of this, we can freeze the first few layers and work to re-train the last few.
Getting Started
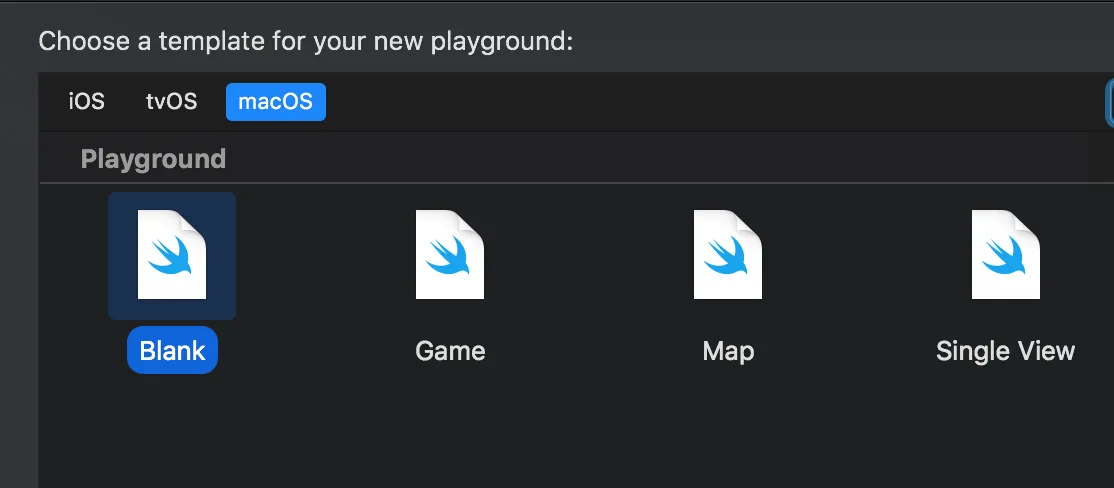
Start by opening Xcode 10 and going to File>New>Playground. Ensure that the macOS target is selected and create a Blank playground.
Now there’s just 3 lines of code you need to begin training. (Feel free to delete the “Hello, Playground” variable assignment) We’ll import CreateMLUI and open the MLImageClassifierBuilder in the Assistant Editor.
import CreateMLUI
let builder = MLImageClassifierBuilder()
builder.showInLiveView()
Click Run and then open the Assistant Editor using CMD+ALT+Enter and you should now see the following:

On the right you’ll see the new, interactive UI that will allow you to easily drag-and-drop your labeled image datasets and begin training your custom model.
Obtaining a Labeled Image Dataset
I’ll be using Kaggle to obtain the labeled image dataset for this post. Kaggle is a site for both current and aspiring data scientists and machine learning engineers to learn, discuss, share, and build their skills. They also offer many open datasets for you to use and learn from which are maintained by a great community.
Let’s get our dataset! For this example I’ll be using the Fruit 360 dataset to train a fruit classifier. When you download and look at the dataset, you’ll find a Training and Validation folder. The Training folder will be filled with images that we will initially train our model on and the Validation folder will contain images that the model has never seen, which will allow us to verify the accuracy of our image classifier.
Note that this dataset is fairly large and will take quite a bit of time to train in Xcode. For this reason I’m going to be dramatically simplifying our classifier for this example by only training it for 2 fruits, specifically bananas and strawberries. In order to do this I’ve created my own folder called CreateMLTutorial that has its own Training and Validation folders. Then I copy-pasted the Banana and Strawberry folders from the original Training folder into my own Training folder, and similarly with the Validation folder.

What If No Datasets Fit My Problem?
You may easily find yourself in a situation where there aren’t any publicly available datasets for you to use. As I step through the example using the Kaggle dataset, you will see how your own custom dataset should be organized and labeled in order to train a model with it. The only steps you will have to manually perform are the collection your own data (i.e. taking your own pictures) and the organizing them in labeled folders.
Training the Model
Now we can begin training! Back in Playgrounds, you should see the outlined box that says “Drop Images To Begin Training”. Grab the Training folder with our Bananas and Strawberries and drop it into the Assistant Editor and watch it train!
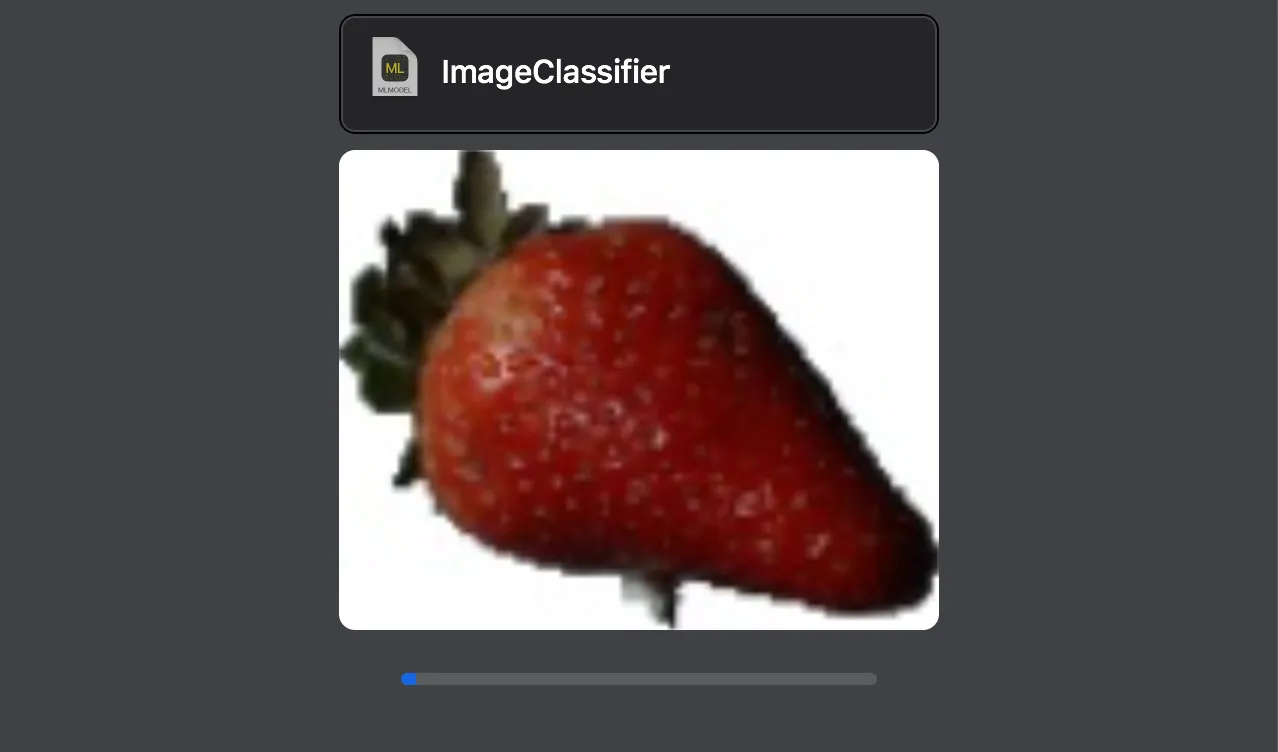
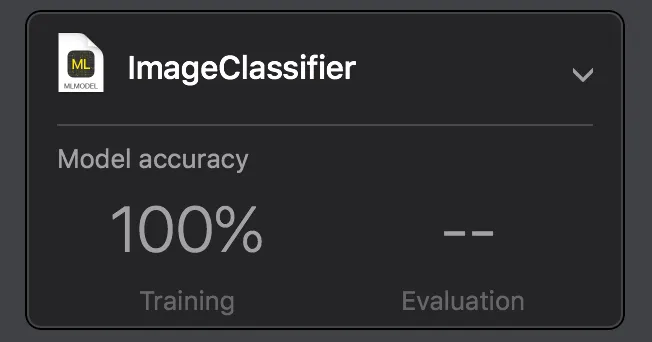
Once it has finished you’ll see your model’s accuracy for your training data set.
Now to test your newly trained model again images it hasn’t yet seen. Drag-and-drop the Validation folder into the Assistant Editor to begin this process. Afterwards you’ll see what your model predicted each image to be.
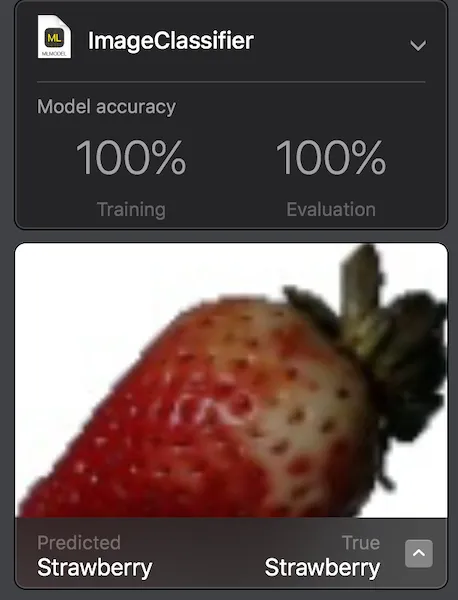
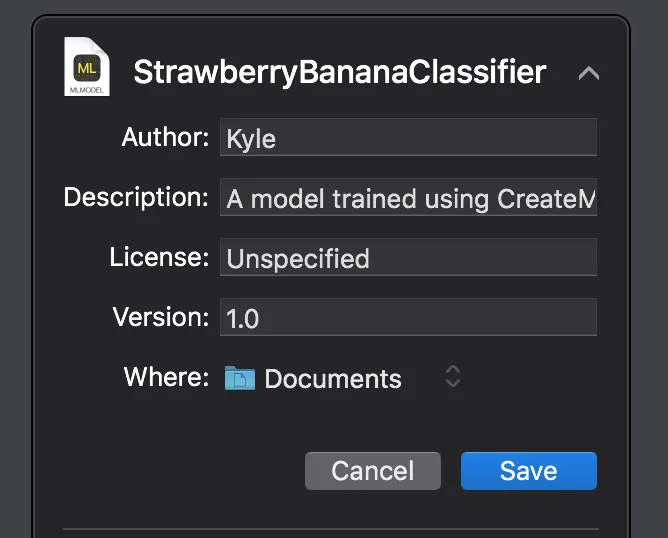
Now that your model has finished testing against the validation set you’re ready to export a mlmodel for use in your own project. Using the Assistant Editor, feel free to rename your model and then save it so that you can export it into Xcode.
Testing The Model on the Simulator
Now open Apple’s Vision Starter Project which I linked to at the beginning of this post. Delete the MobileNet.mlmodel in the File Organizer and drag in the model we just exported. Then open up ImageClassificationViewController.swift and replace the line
let model = try VNCoreMLModel(for: MobileNet().model)
with the new model:
let model = try VNCoreMLModel(for: StrawberryBananaClassifier().model)
Then run the app and upload a picture of a strawberry or banana to see the results!
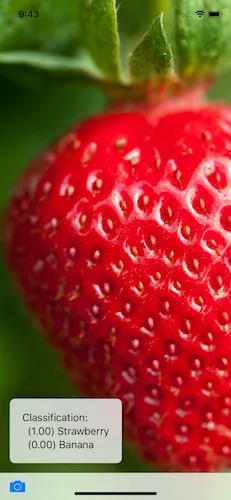
Voila! The model correctly identifies an image of a strawberry it’s never seen before.
Next Steps
As I mentioned earlier I trimmed the Fruits 360 dataset to classify just two fruits. Now that you’ve seen the process, you can take the time and allow Xcode to process the entire dataset in order to classify all the different types of fruits in the dataset. You can also make your own dataset by taking images of the objects you want to be able to classify and organize them in the same way the Fruits 360 is organized.